The Pistol Grip and how to get it right
In all of our pistol classes, once we have discussed safety, house keeping and few other generic issues, the first fundamental of handgun shooting that we broach is the grip. And all of our courses are foundational. Anything we work on is then applied to all the remaining topics. So, if we teach the grip, we then apply this information to all other aspects of our class.
We like to separate the notion of grip from accuracy. We have found this helps eliminate some of the confusion about how to apply the shooting grip and the purpose of the two-handed grip. The purpose of the shooting grip is to provide a solid shooting platform. Ideally the grip will both steady the firearm and reduce recoil impulses. Furthermore, the grip should help the firearm move in a predictable manner that is consistent and returns the gun to the target as soon as practical. I recognize that many people will look at shooting results and then question how the grip plays a part in the results. For the purposes of this discussion, try and separate accuracy and target results from the grip. Look to the grip as only a mechanism for a steady platform and recoil control.
Step One: Recoil Control
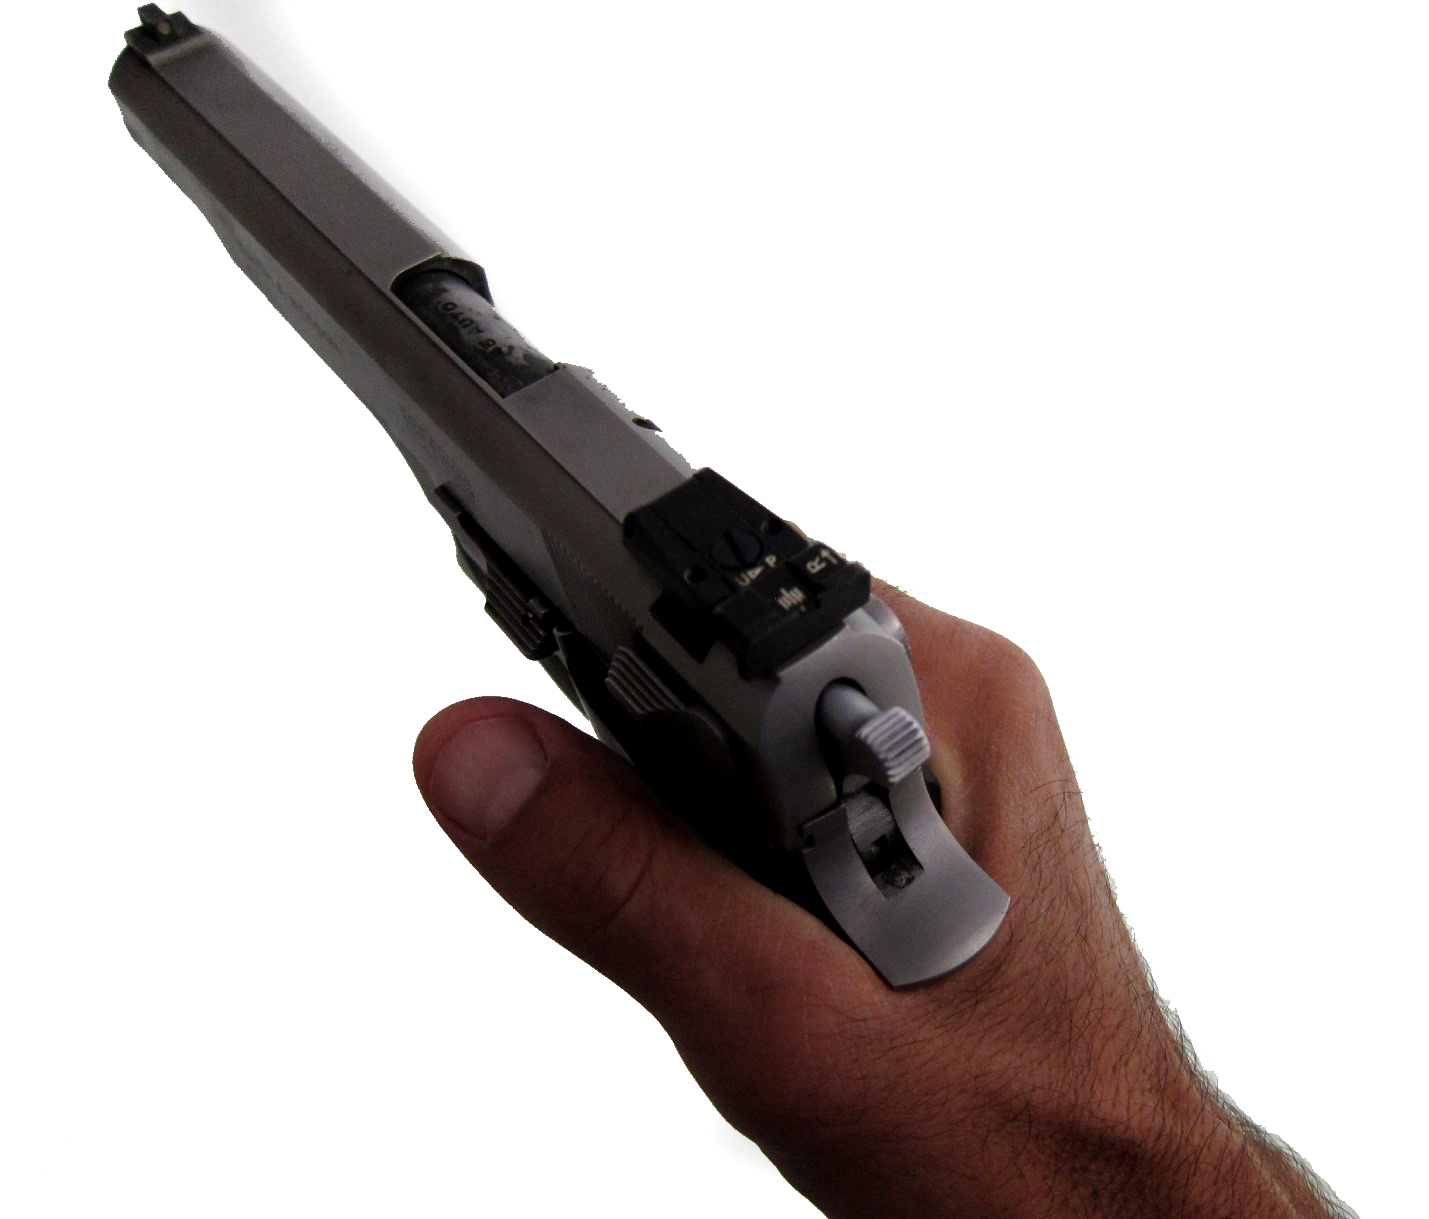
We begin building the pistol grip by first looking at some physical principles associated with recoil control. For example, the closer you can get to the reciprocating mass of a semi auto pistol slide, the less leverage the slide will have for upper flip and movement. The more hands you can get on the grip of the gun, the greater strength you can impart onto the grip. And finally, we do not try to regulate the grip pressure. When people ask how much grip pressure we should use to hold the gun, the answer is typically, “all of it”. Just grip the gun with all your strength. If you find that you are experiencing muscle tremors from excessive grip, that might be the time to back down. Until then, use all your grip strength.
The strong hand grips the pistol, pushing the front strap and rear strap into the palm of the hand.
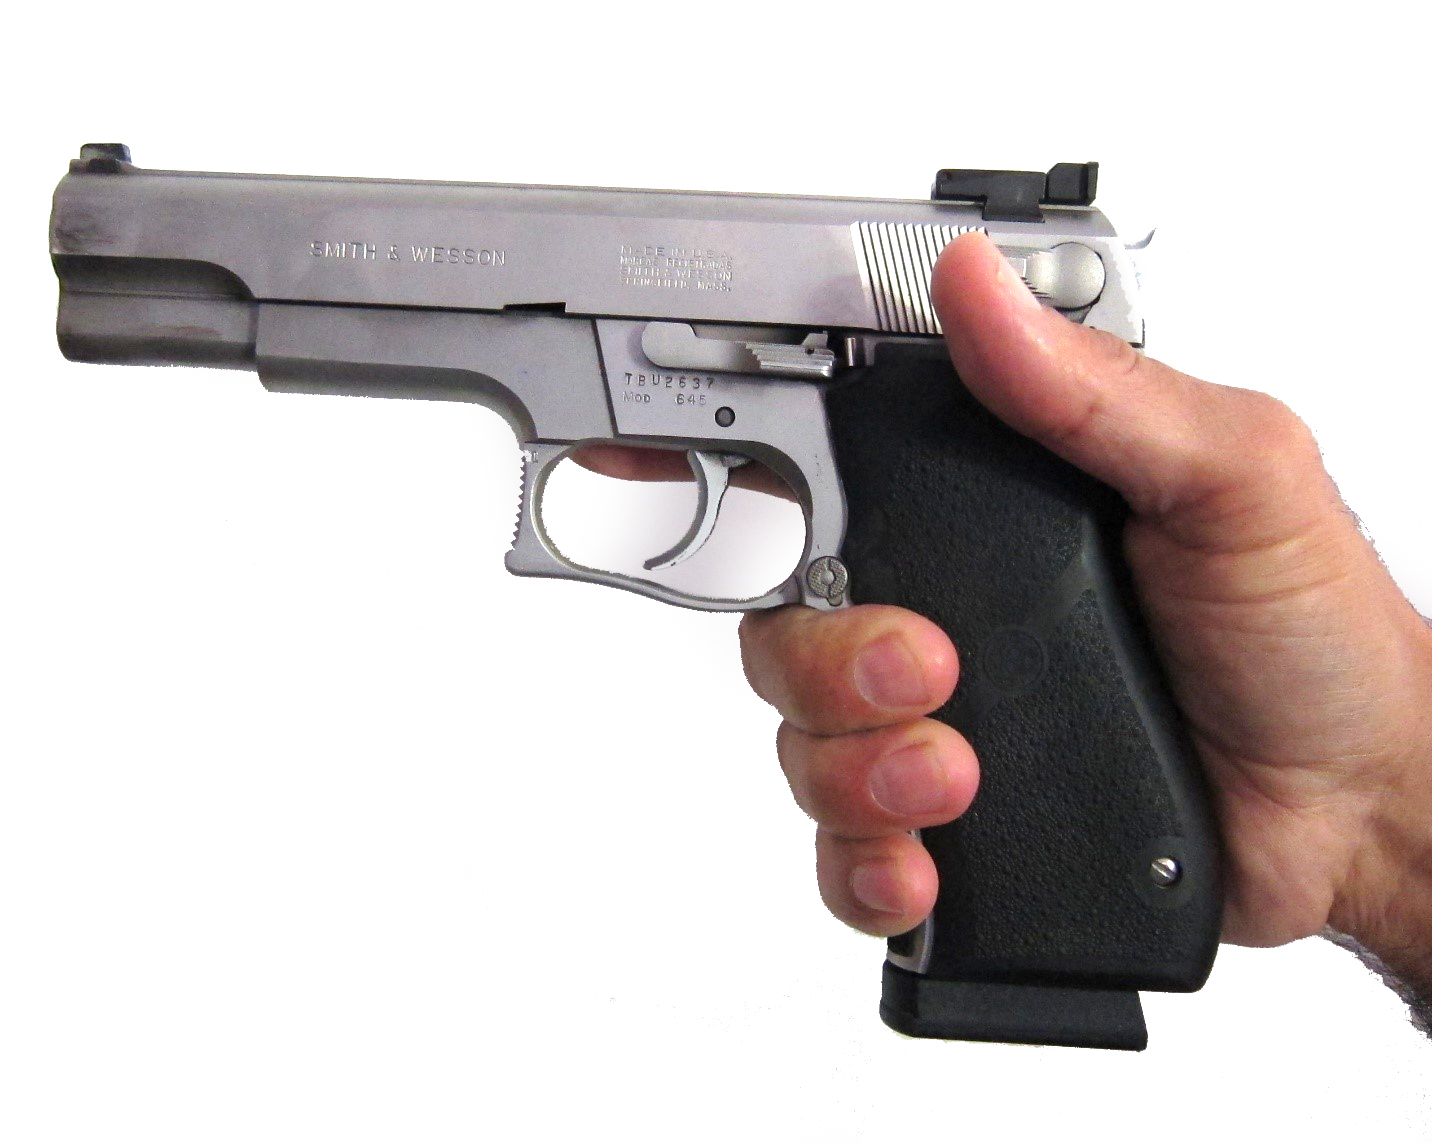
Step Two: The “C” Clamp
Take the pistol in your strong hand. The web of the hand is as high on the back strap of the gun as possible. Ideally the hand is so high up, there is a slight fold of skin between the thumb and forefinger, indicating the back strap is pushing against the web of the hand. The fingers close against the front strap of the pistol, and crush the front strap into the heel and palm of the hand. The analogy we use is closing like a “C” clamp, similar to those used in woodworking.
The grip is high up on the back strap, so the web of the hand is tight against the beavertail or top of the frame.
At this point, we like to examine the gun, and show the large swath of unused real estate on the non-firing side. The base of the support hand, from the bottom of the thumb, to the heel of the palm takes this space. The support thumb is directly below the strong hand thumb, and both are pointing downrange. The support hand index finger is tucked under the trigger guard and all four fingers close, and squeeze like a disc brake on a car. Personally, I like to let my thumbs sort of float, but if I am running a gun with a frame mounted safety (think CZ-75, 1911, and some H&K pistols) the strong hand thumb will live on top of the safety. This ensures the safety is disengaged and gives my thumb a small amount of downward force.
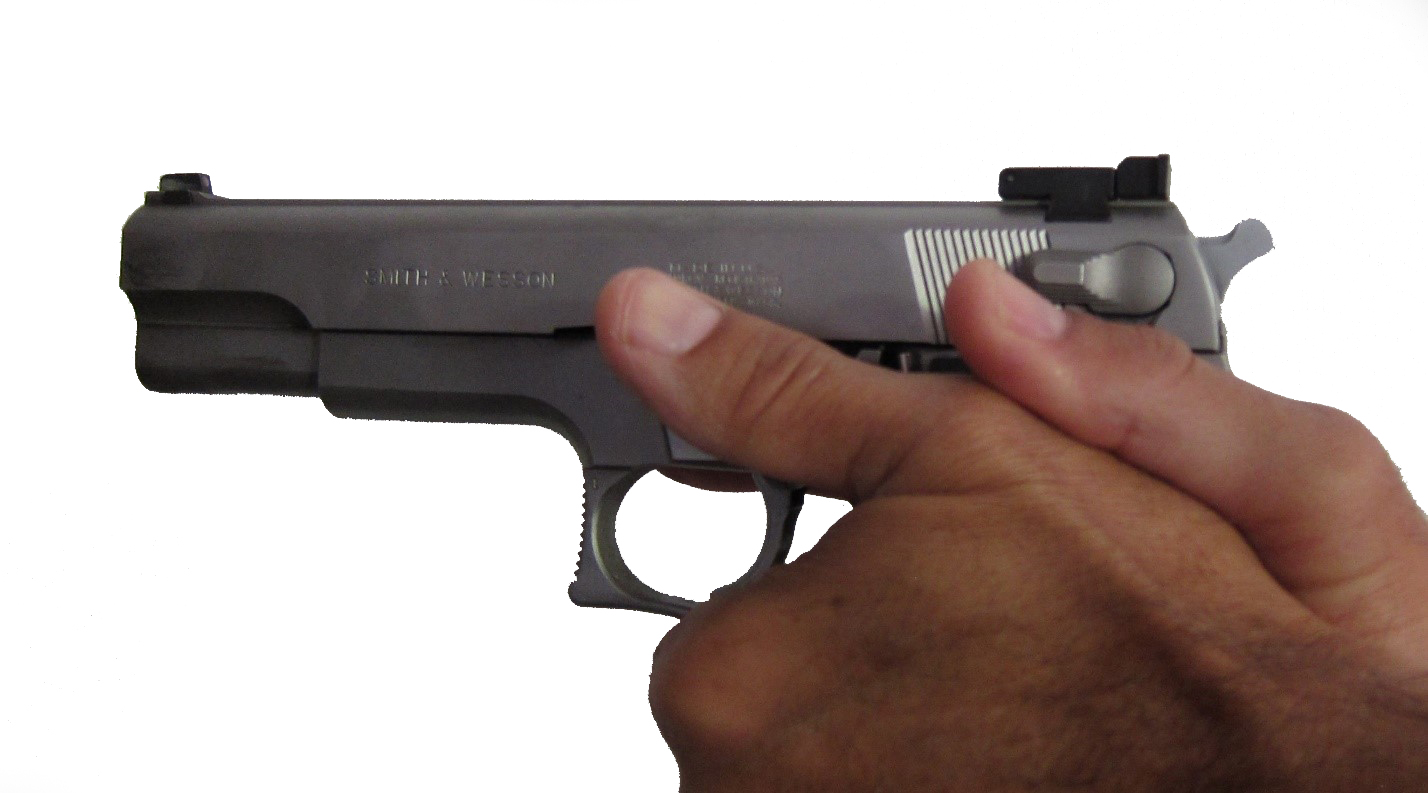
The support hand takes up the open space on the grip, and closes like a “disc brake” on the stocks. The support thumb points forward.
I suggest trying this grip, and experiment with it. Try different strengths, different ratios of grip from left to right hand, and locking or unlocking the elbows. See what feels best and produces the best results in recoil management. Come on out and practice it. We’ll see you at the range.
About the writer
Mike Lazarus
Military and Law Enforcement Veteran
FBI certified firearm instructor
MP5 and Sub Machine gun instructor
Defensive tactics instructor